1. Requirements
2. Download and install TPF-Basic
3. Use of TPF-Basic
TPF-Basic is an easy-to-use audio tool ideal for jamming and long-distance teaching. It sends one channel to the remote peers and only expects one channel from each remote location. It can connect up to 16 remote peers. It features a built-in mixer with level and pan controls for each peer.
TPF-Basic is less flexible than TPF-Intermediate, but simpler to use, and does not need a Digital Audio Workstation. For many setups (people participating from home with laptops), this might come in handy. Otherwise, it is fully compatible with TPF-Intermediate.
The following sections outline key aspects of using TPF-Basic. Section 1 outlines preliminary set up requirements; Section 2 covers steps for downloading and installing and Section 3 offers tips for using TPF-Basic.
TPF Tools Manuals
1. Requirements
TPF-Basic is compatible with macOS 10.14+ (those with Intel chips only).
An Internet connection with at least 10 Mbit/s up- and download capacity is recommended. The quality of the connection is highly dependent on the quality of service of the Internet provider.
We strongly recommend plugging in your computer directly to the Internet router with an Ethernet cable. It is possible to use WiFi, but the connection quality might suffer and the latency will be much greater.
It is useful to use an additional interface; if you use your computer’s built-in devices, you need to use headphones to avoid feedback.
Further hints concerning technical requirements can be found in Chapter F.
2. Downloading and Installing TPF-Basic
a. Download
Download the TPF-Basic installer ‘install-tpf-tools-basic.pkg’ from here:
b. Installation
Right-click and open the downloaded installer package (‚installer_tpf-tools_basic.pkg’).
The following window will appear:
Follow these installation instructions.
After a successful installation, the folder ‘tpf-tools-basic’ will appear in your ‘Application’ folder. It contains ‘TPF-Party’, an easy-to-use standalone device for bi-directional audio streaming between the involved locations.
3. Using TPF-Basic
To open the standalone device, open ‘tpf-party’ in the ‘tpf-tools-basic’ folder. The ‘tpf-tools-basic’ should be located in the ‘Applications’ folder.
a. Set Audio Source

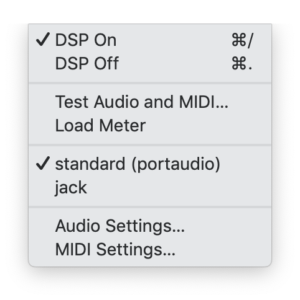
The following settings are preconfigured as default settings; if you want to change them, go to TPF-Party’s Preferences and click on ‘Media’ in the menu:
‘standard (portaudio)’ is your Coreaudio driver; you can also choose ‘jack’ as your driver in case you have installed JACK2 (see Chapter C1, Section 2).
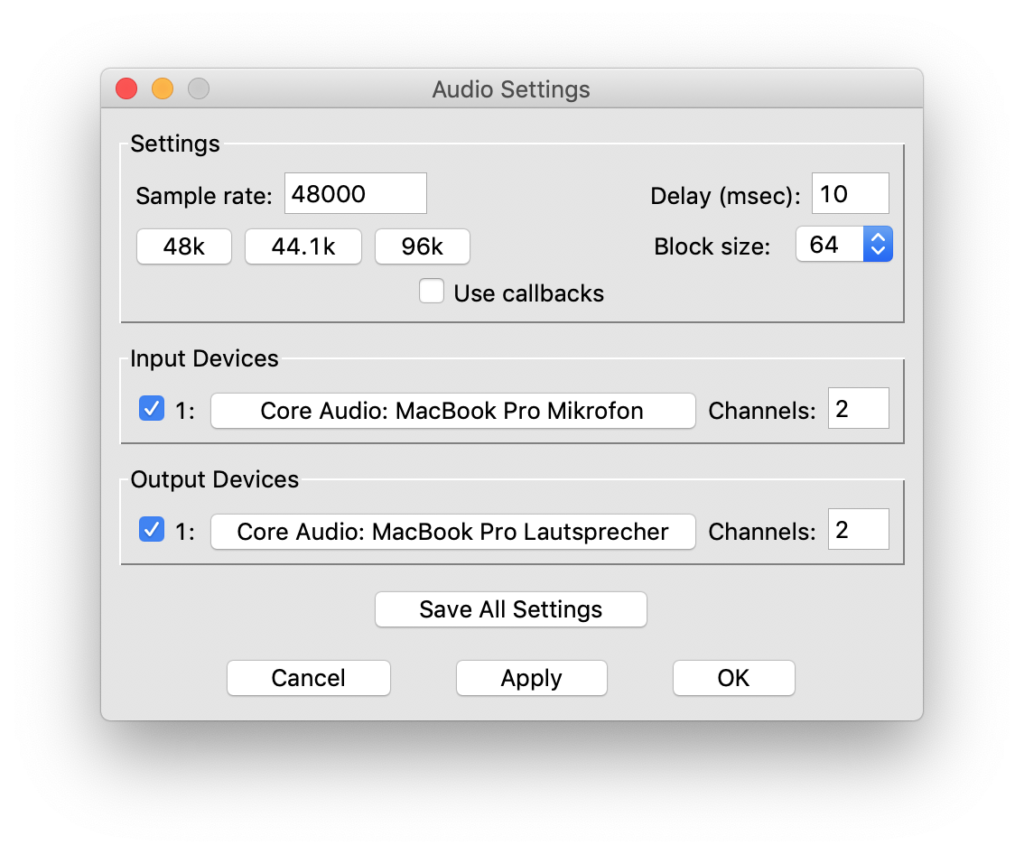
In the dialogue window ‘Audio Settings’, you can define the sampling rate, the block size as well as your audio devices (interface or built-in microphone and headphone):
We usually work with a sampling rate of 48 kHz and with a block size of 128 samples. Note that the sampling rate has to be identical for all peers, otherwise no connection can be established. Ensure that all your devices have the same sampling rate.
You can also test the audio signal in TPF-Party’s window ‘test audio and MIDI’ (you find it by clicking on ‘Preferences’ and then the menu option ‘Media’). By clicking on ’60’ or ’80’ below ‘TEST TONES’, a sound should be issued; the incoming signal from your microphone can be seen in the left box below ‘AUDIO INPUT’:
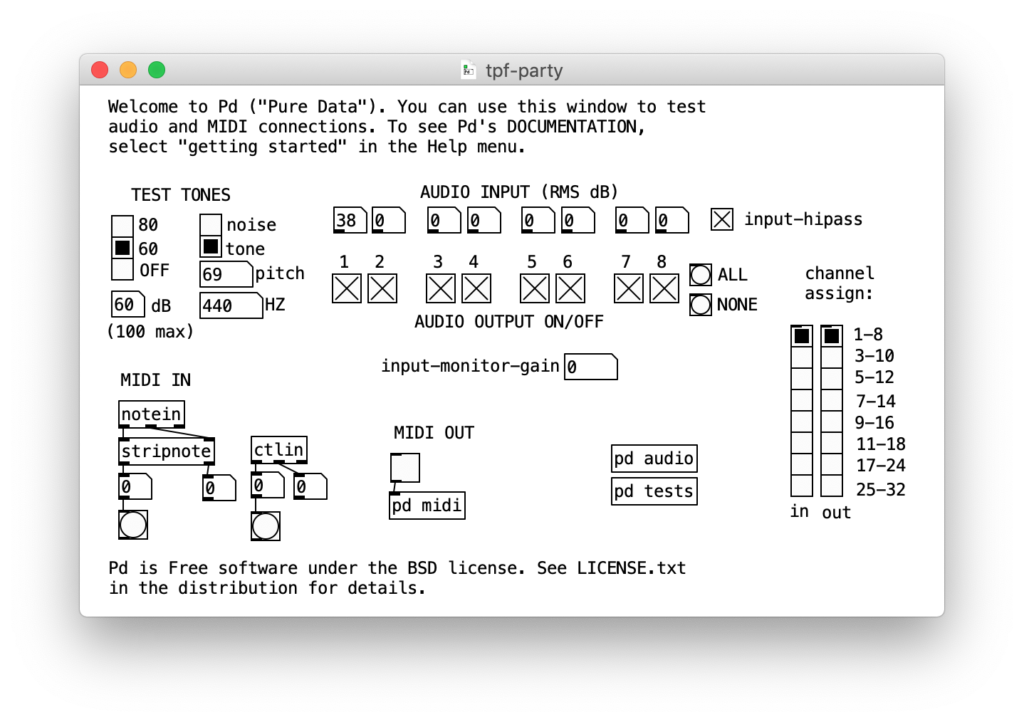
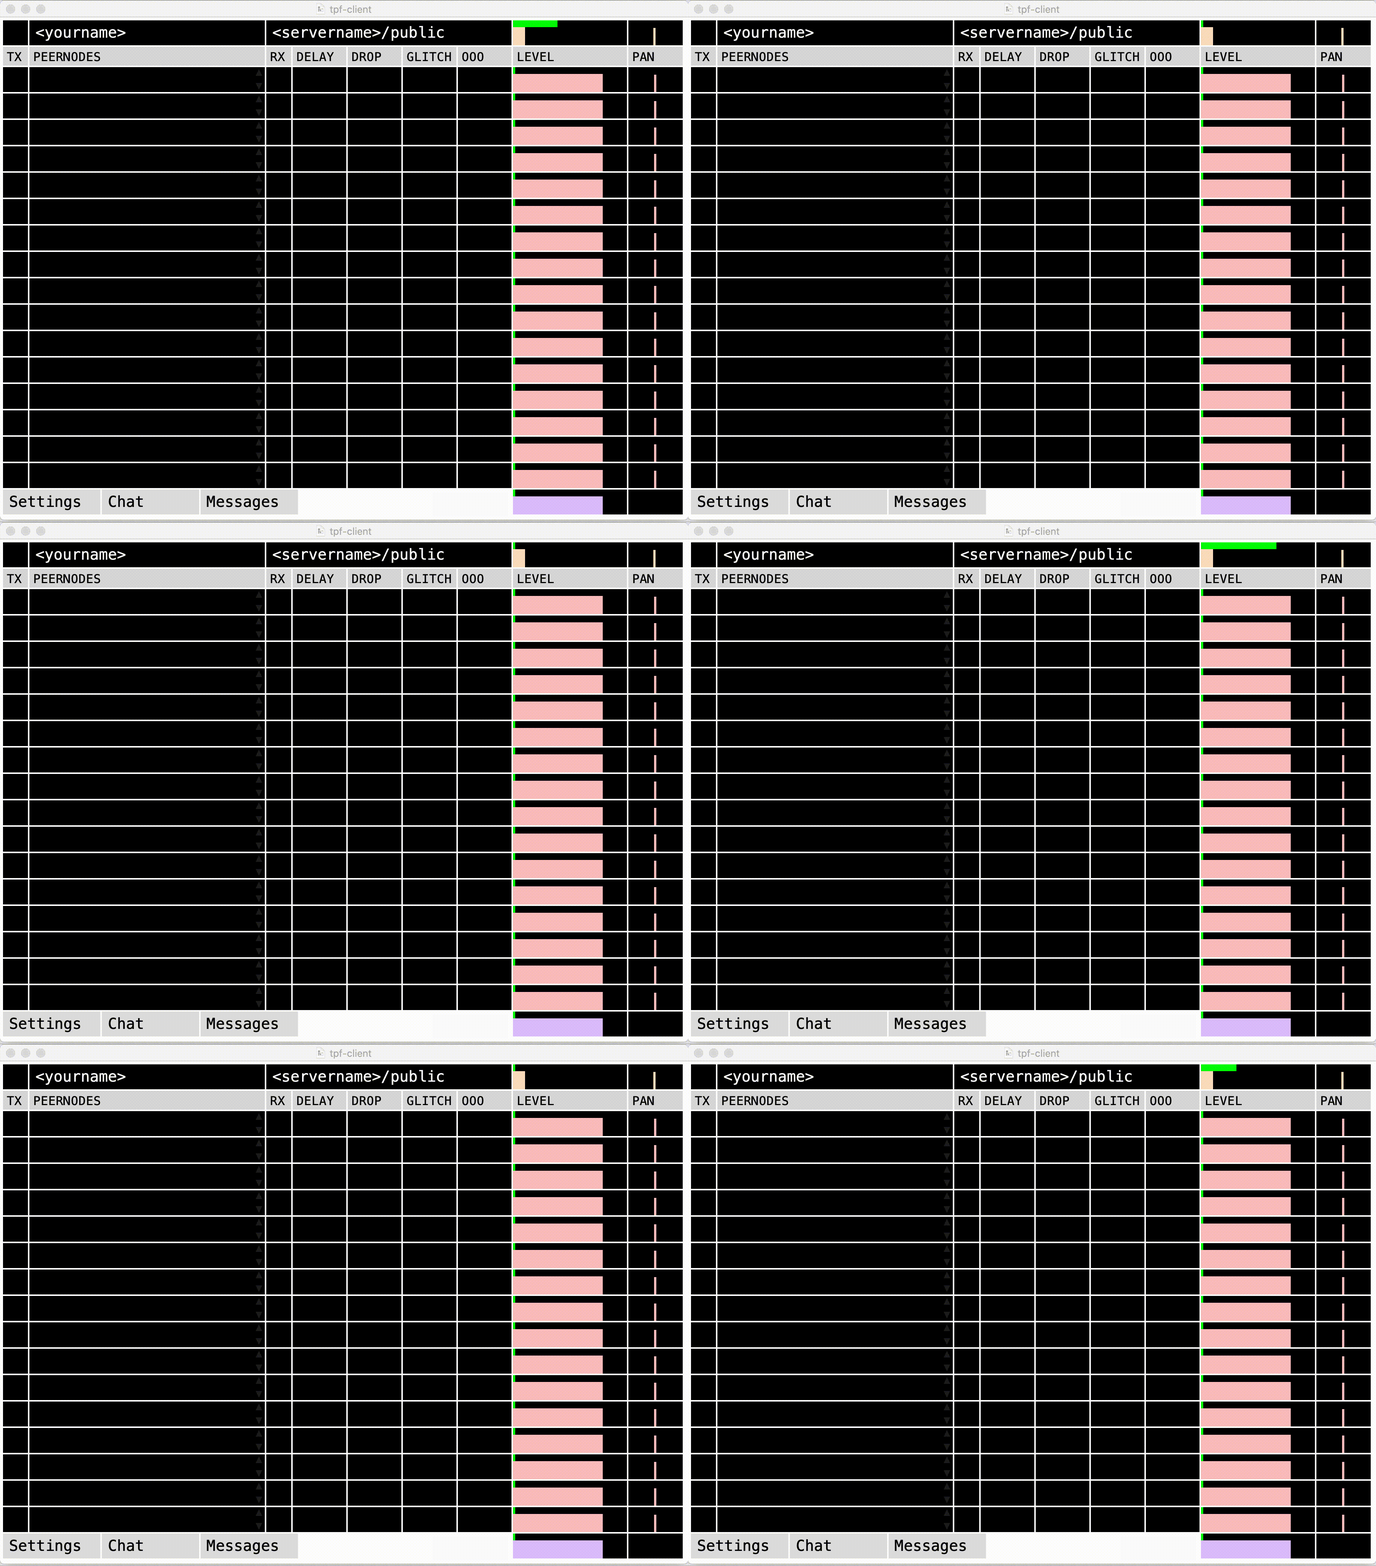
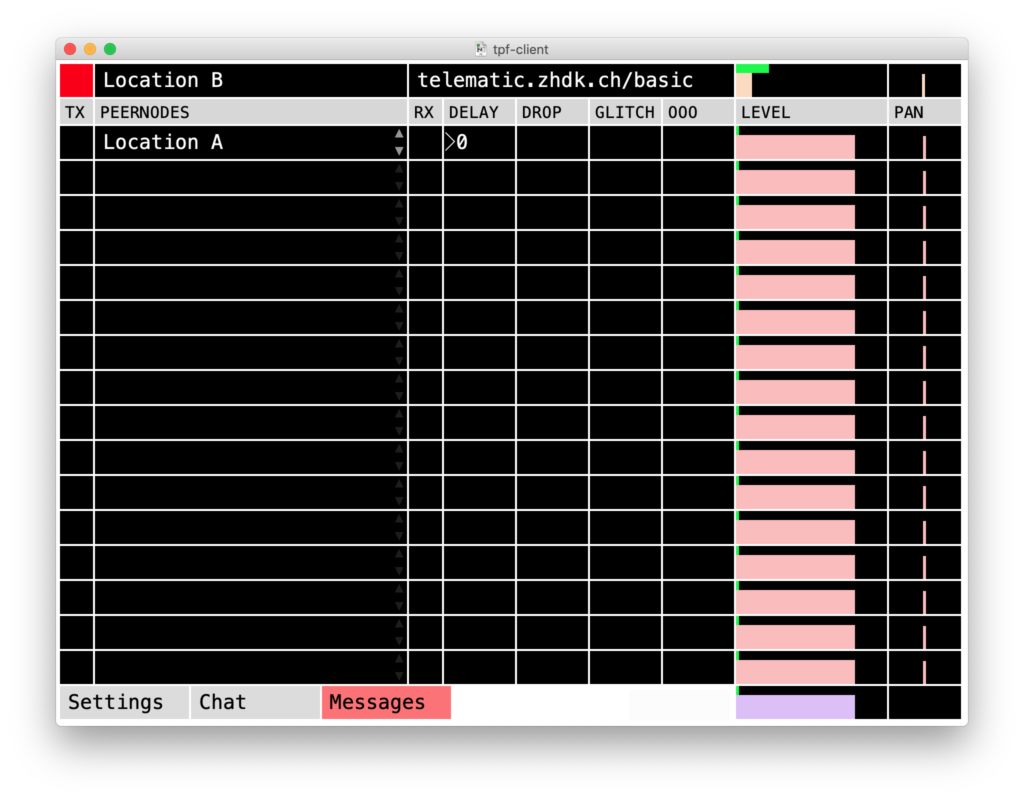
If everything went well, you will see a green colour bar flicker in the first row about the cell named ‘LEVEL’. This is the incoming signal from your hardware to TPF-Party.
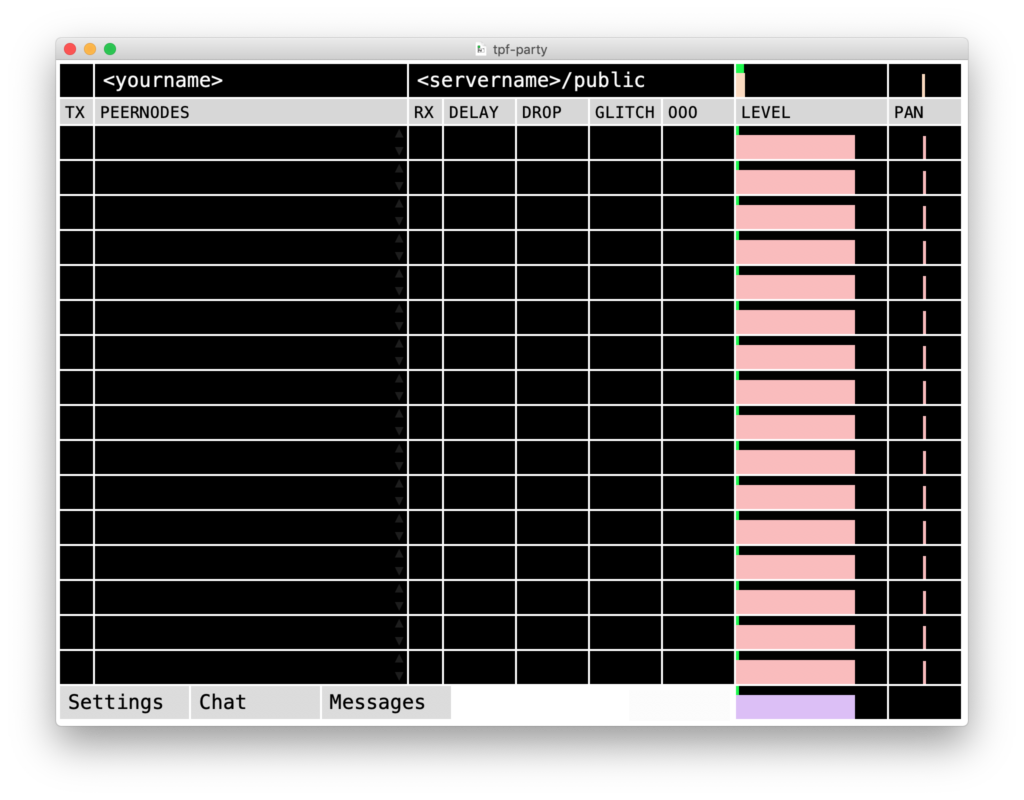
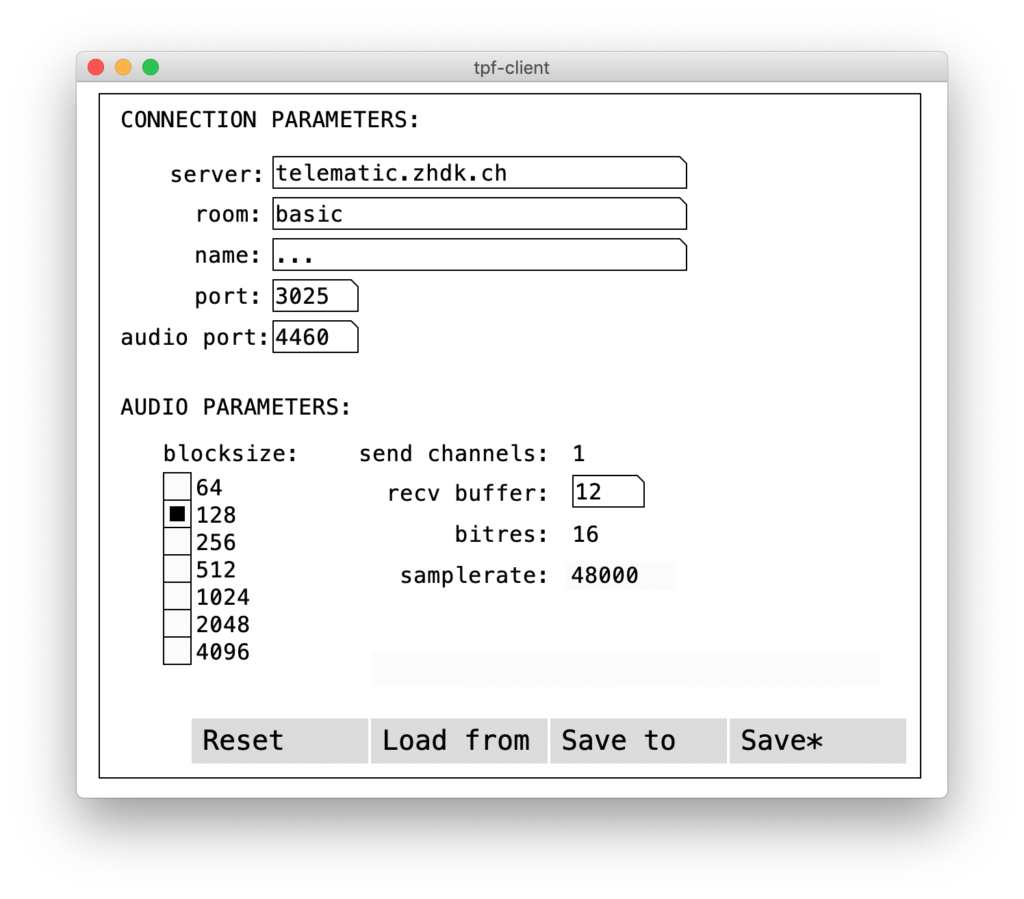
First set the connection and audio parameters. After opening TPF-Party, click on ‘Settings’; the following window will appear:
Enter the Connection Parameters; note that you need to press ‘Enter’ after typing your information in the respective fields to confirm the entry:
server: Write the server name in the server section and press ‘Enter’; the default server, positioned at Zurich University of the Arts, is ‘telematic.zhdk.ch’. Your remote peers have to connect to the same server.
room: Write a self-chosen room name and press ‘Enter’. The peers you want to connect to have to choose the same room name.
name: Write an individual name or your location name and press ‘Enter’. Each peer sets their own individual name.
port and audio port are the ports used by the tpf-server. Those are standard values. Do not change these unless you run your own tpf-server on different ports.
Enter the Audio Parameters:
blocksize: Select the Blocksize. This defines the size of the sent audio packages. You can choose a Blocksize between 64 and 4096 samples. A higher Blocksize might make your connection more stable, nevertheless, it also adds latency. We usually work with a Blocksize of 64 or 128 samples. Each peer can choose their own Blocksize.
recv buffer: Choose the ‘receive buffer’ by writing a number in milliseconds. This defines the buffer queuing and helps to circumvent internet jitter in the audio connection from the remote peer(s). If you hear drops in the incoming audio signal, you can increase the receive buffer. Nevertheless, a higher receive buffer also leads to higher latency. Each peer can choose their own receive buffer.
The resolution is preset to 16 bits and cannot be changed; the sample rate is given by your audio settings (see Section 2a above).
Save the Connection and Audio Parameters by clicking on ‘Save’. When you open TPF-Party for the next time, these parameters will load.
You can also save the parameters by clicking on ‘Save to’ and reload them later from ‘Load from’. You can save and recover your parameters from the corresponding file in the ‘tpf-tools-basic’ folder.
You have two possibilities to connect to the remote partners:
- through the proxy server (see Section c1): in this case, the audio signal flows through a server. This procedure is recommended if a peer-to-peer connection is not possible.
- peer-to-peer (see Section c2): in this case, the audio signals flows from one location to the next directly and the server is only needed to establish the connection. This procedure is recommended if the peer locations are geographically far from the location of the server.
Note that each peer can choose separately whether to connect through the proxy server or through peer-to-peer.
c1. Establish a connection to the other location(s) through the proxy server
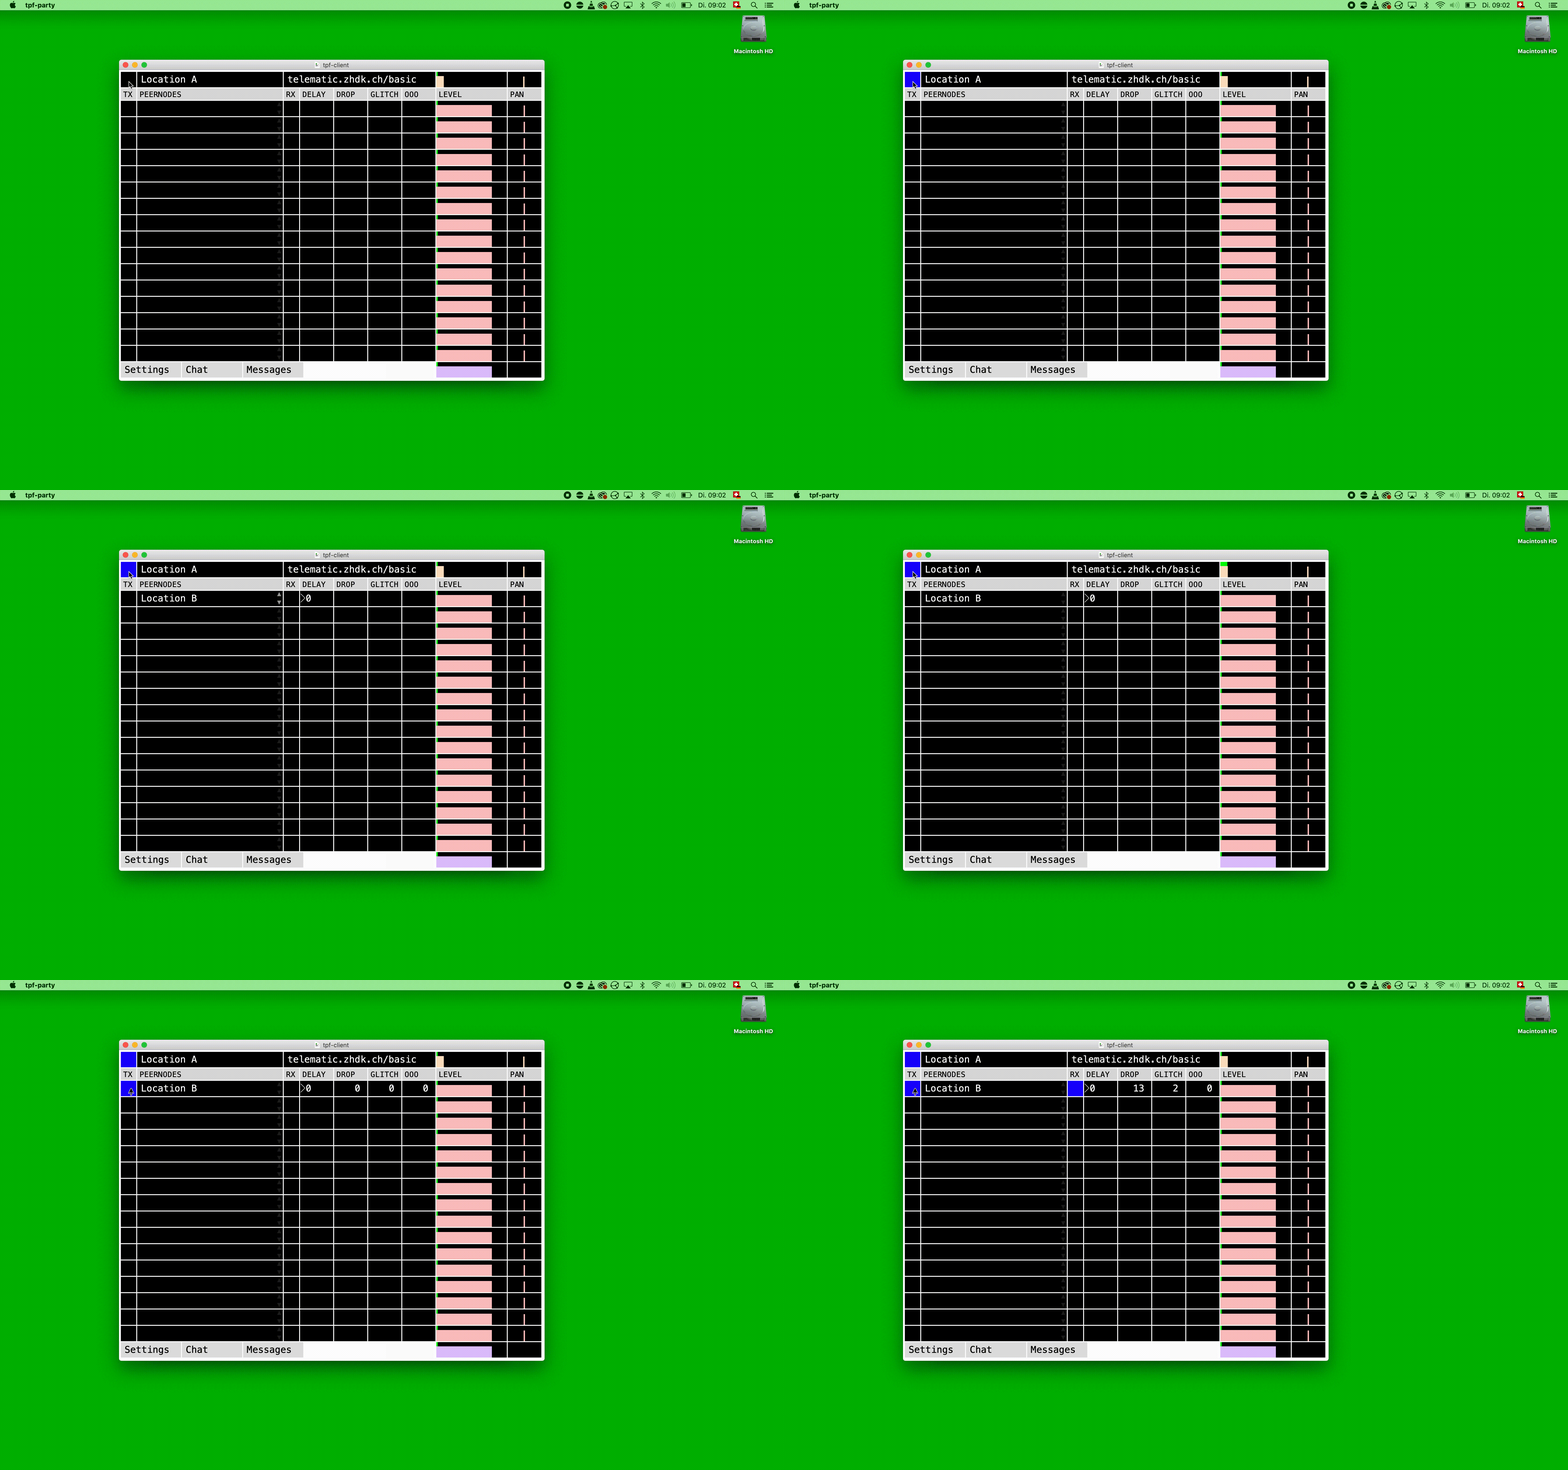
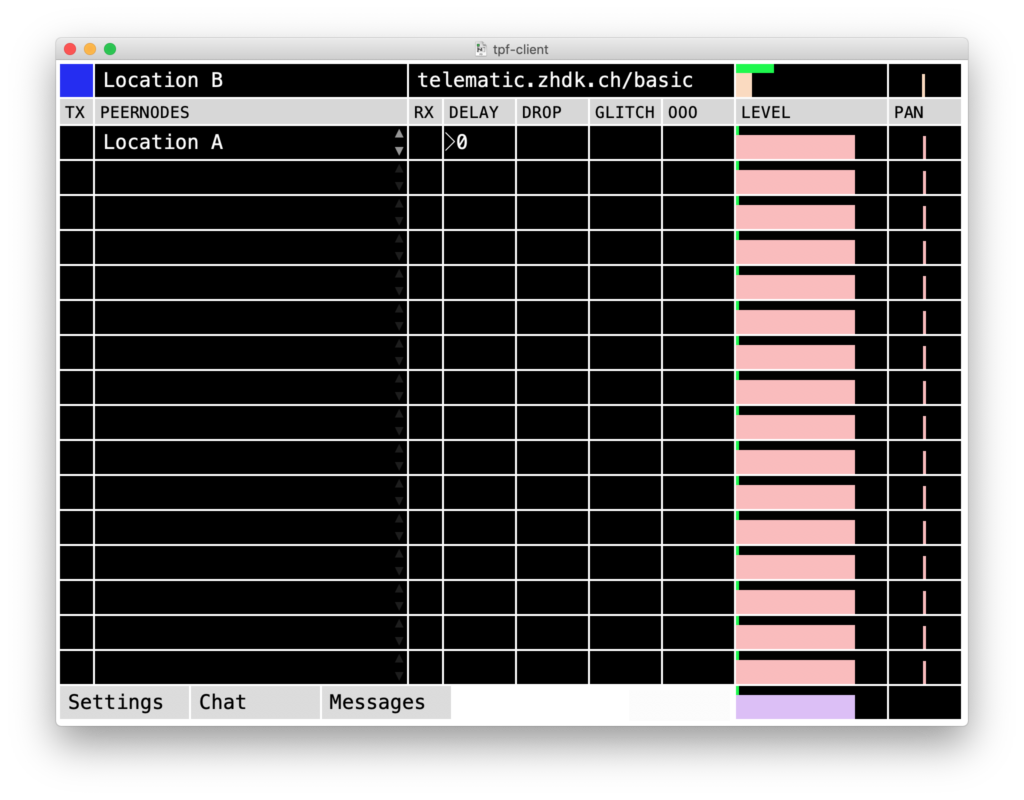
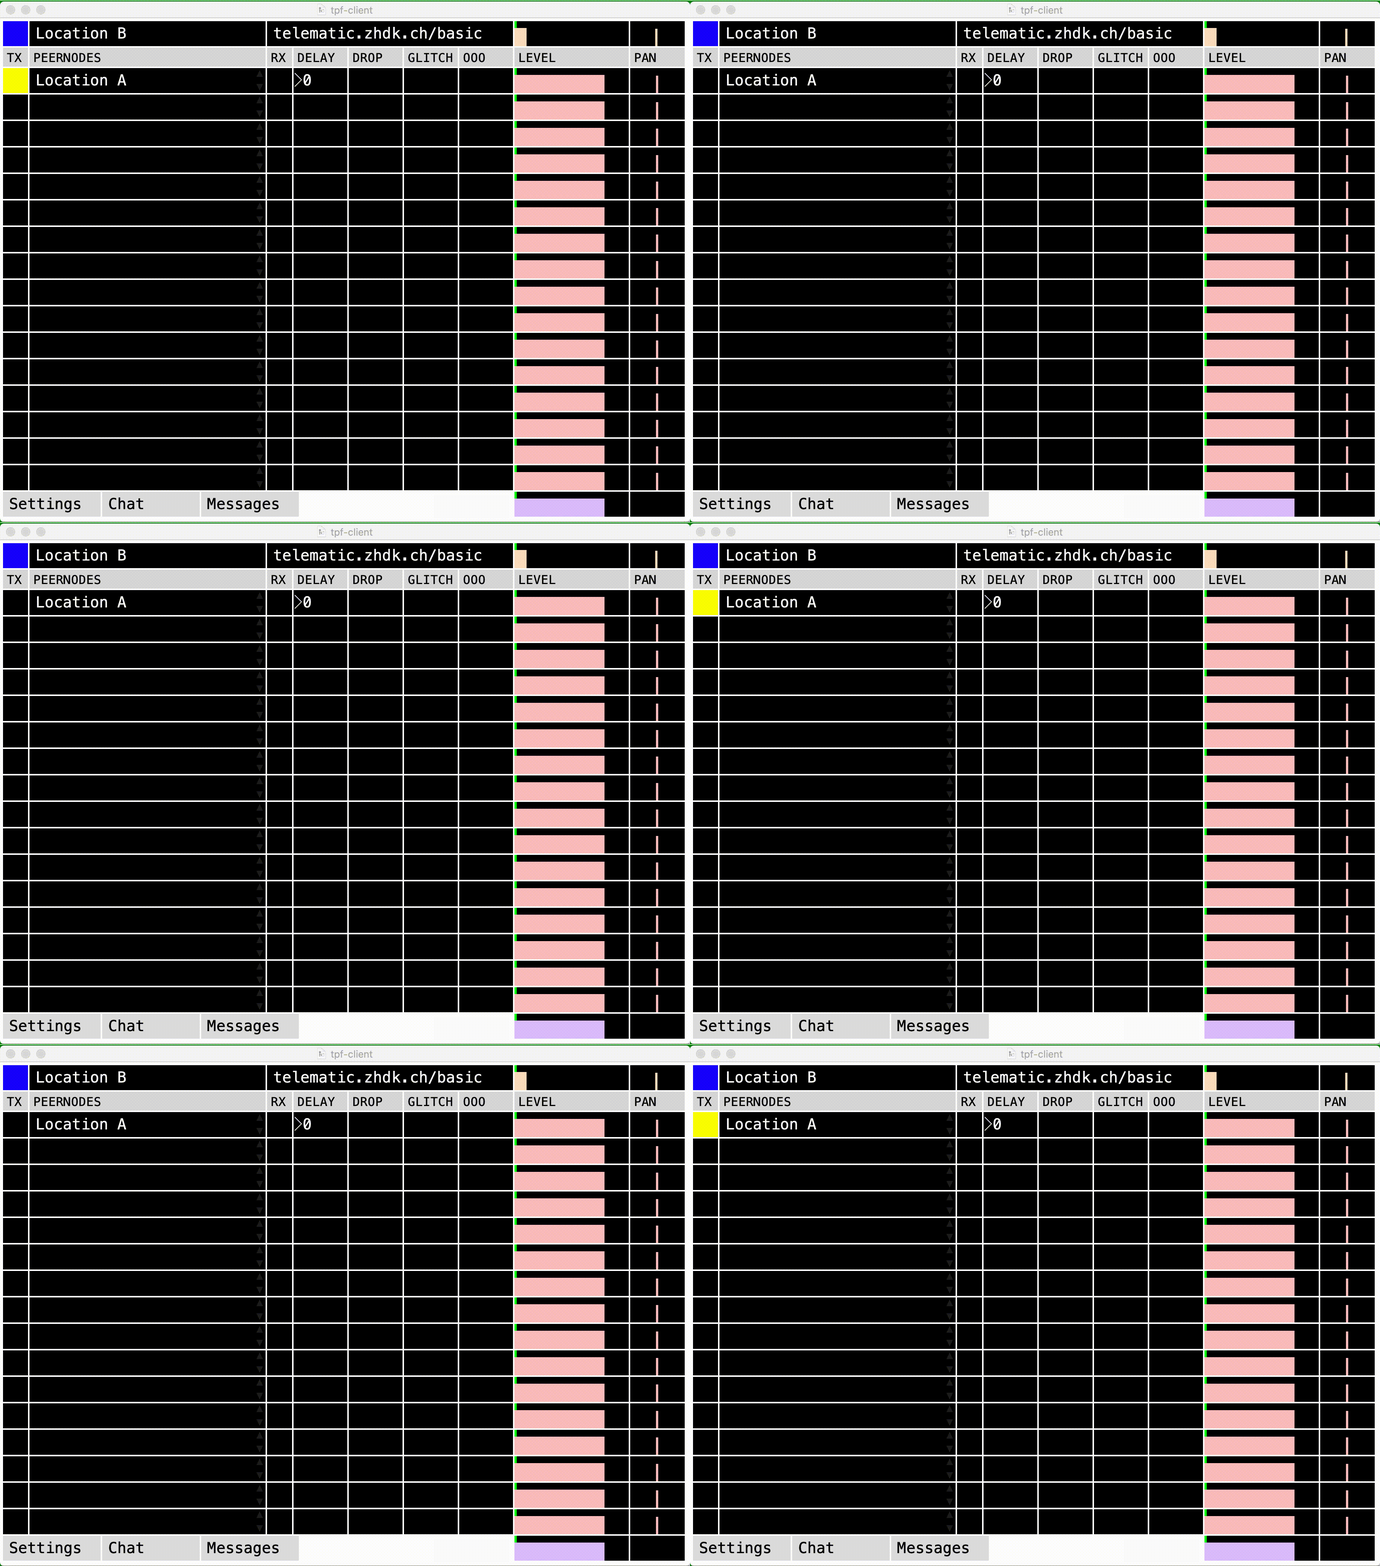
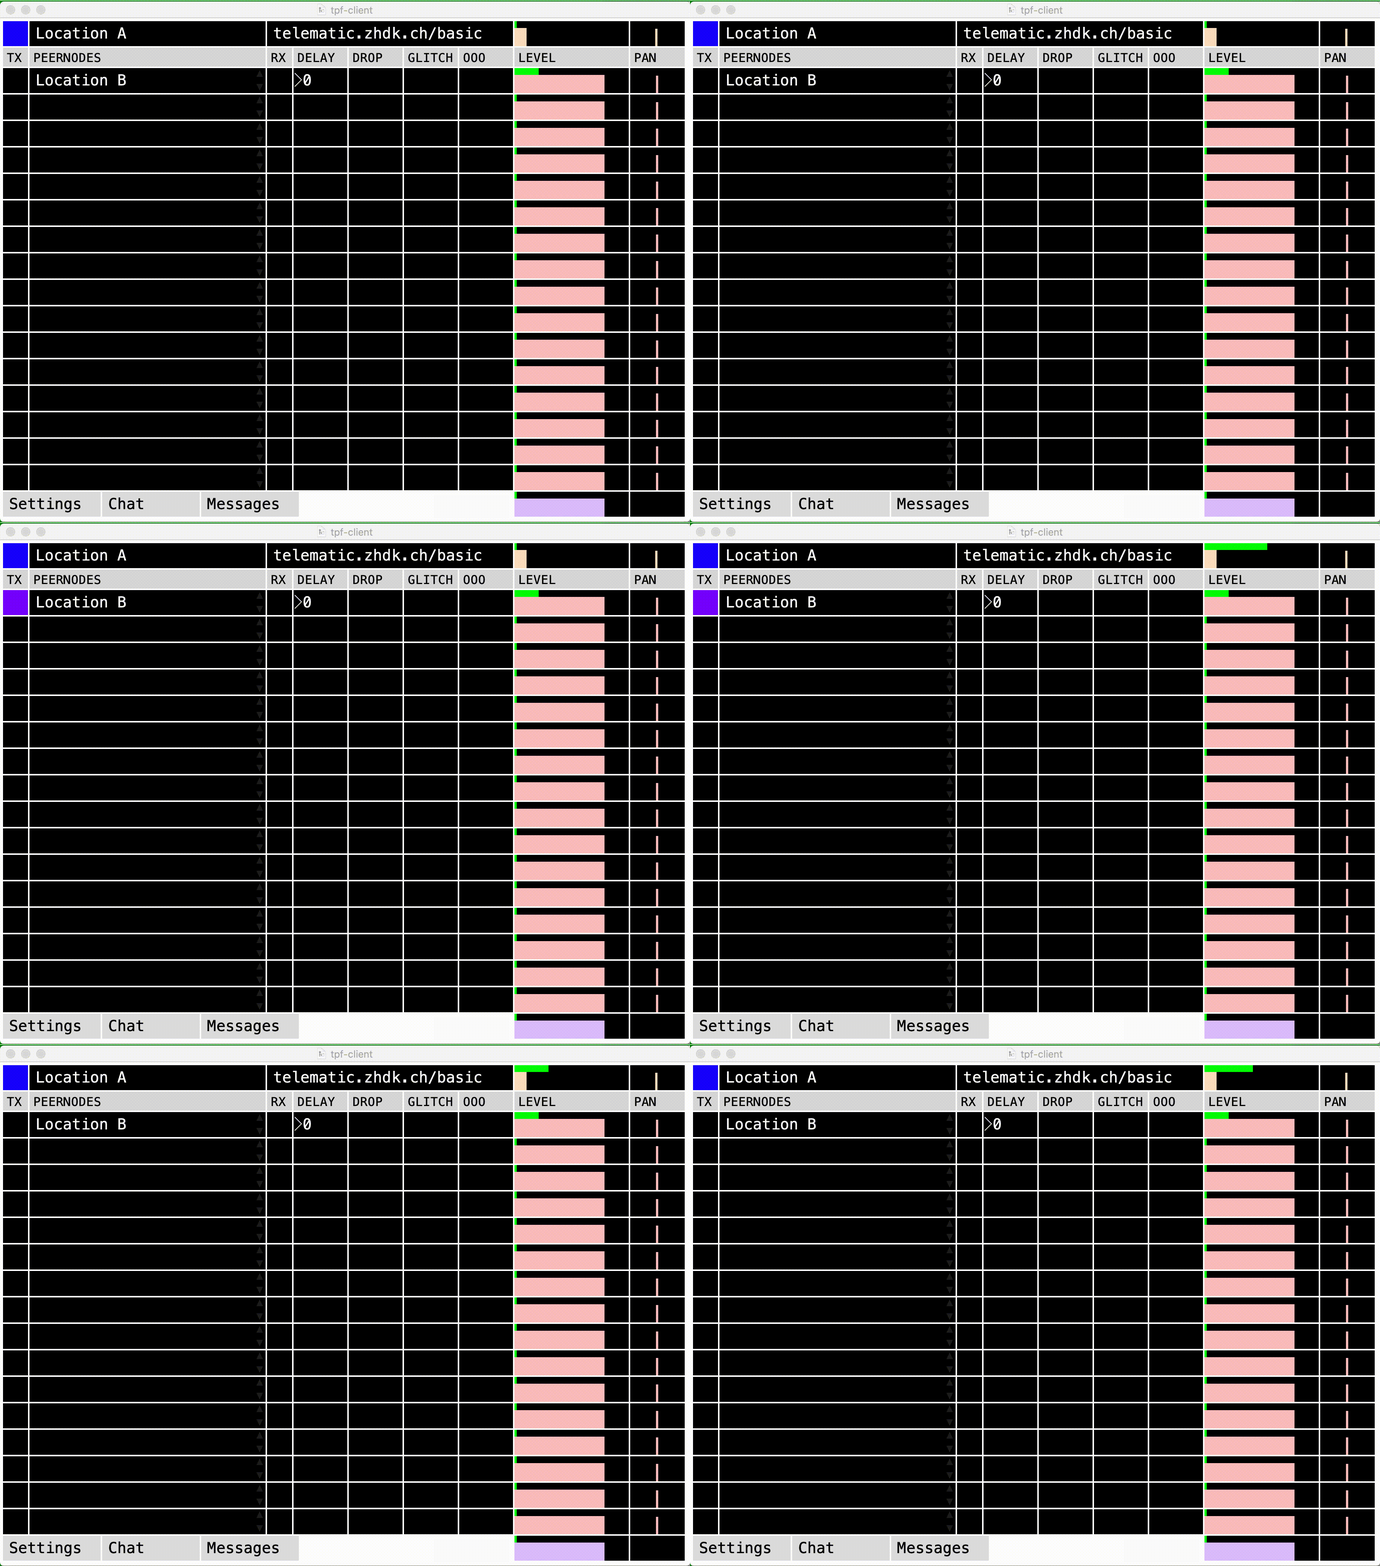
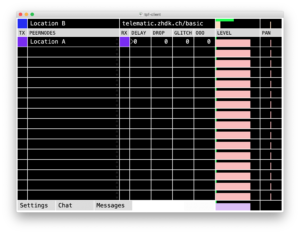
First, establish a connection to the server by clicking on the upper left black field. The button turns blue when the connection to the server is established successfully. In the ‘PEERNODES’ section, you now should see other peers connected to the same room (name) on the same server (address):
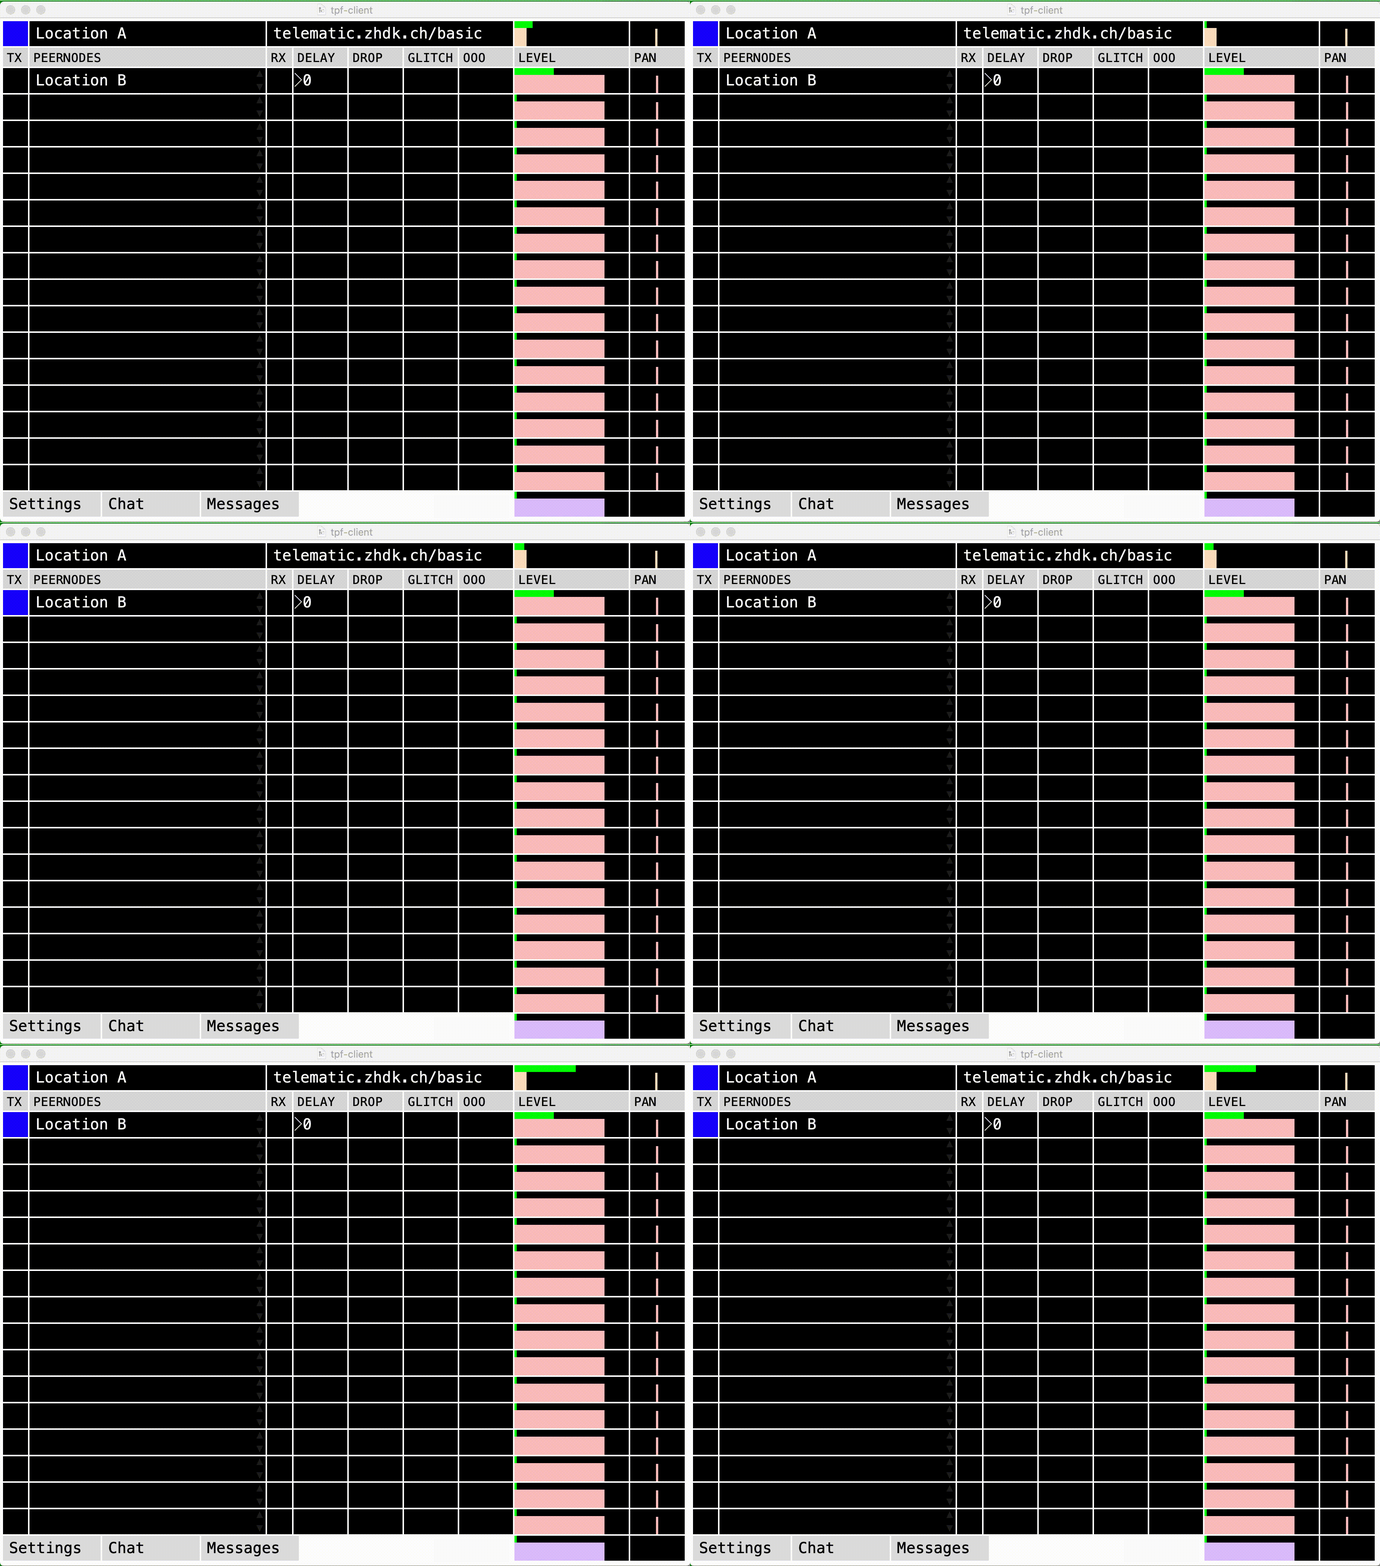
To establish a connection, click on the box at the left side of the peer node. It starts to blink in blue. This calls the other locations, where the respective box starts to blink in yellow.
As soon as a user from a remote location clicks the yellow blinking box, it will turn blue to show that the connection is established.
The names of the peer nodes that are online are white. When peers go offline, their names turn grey.
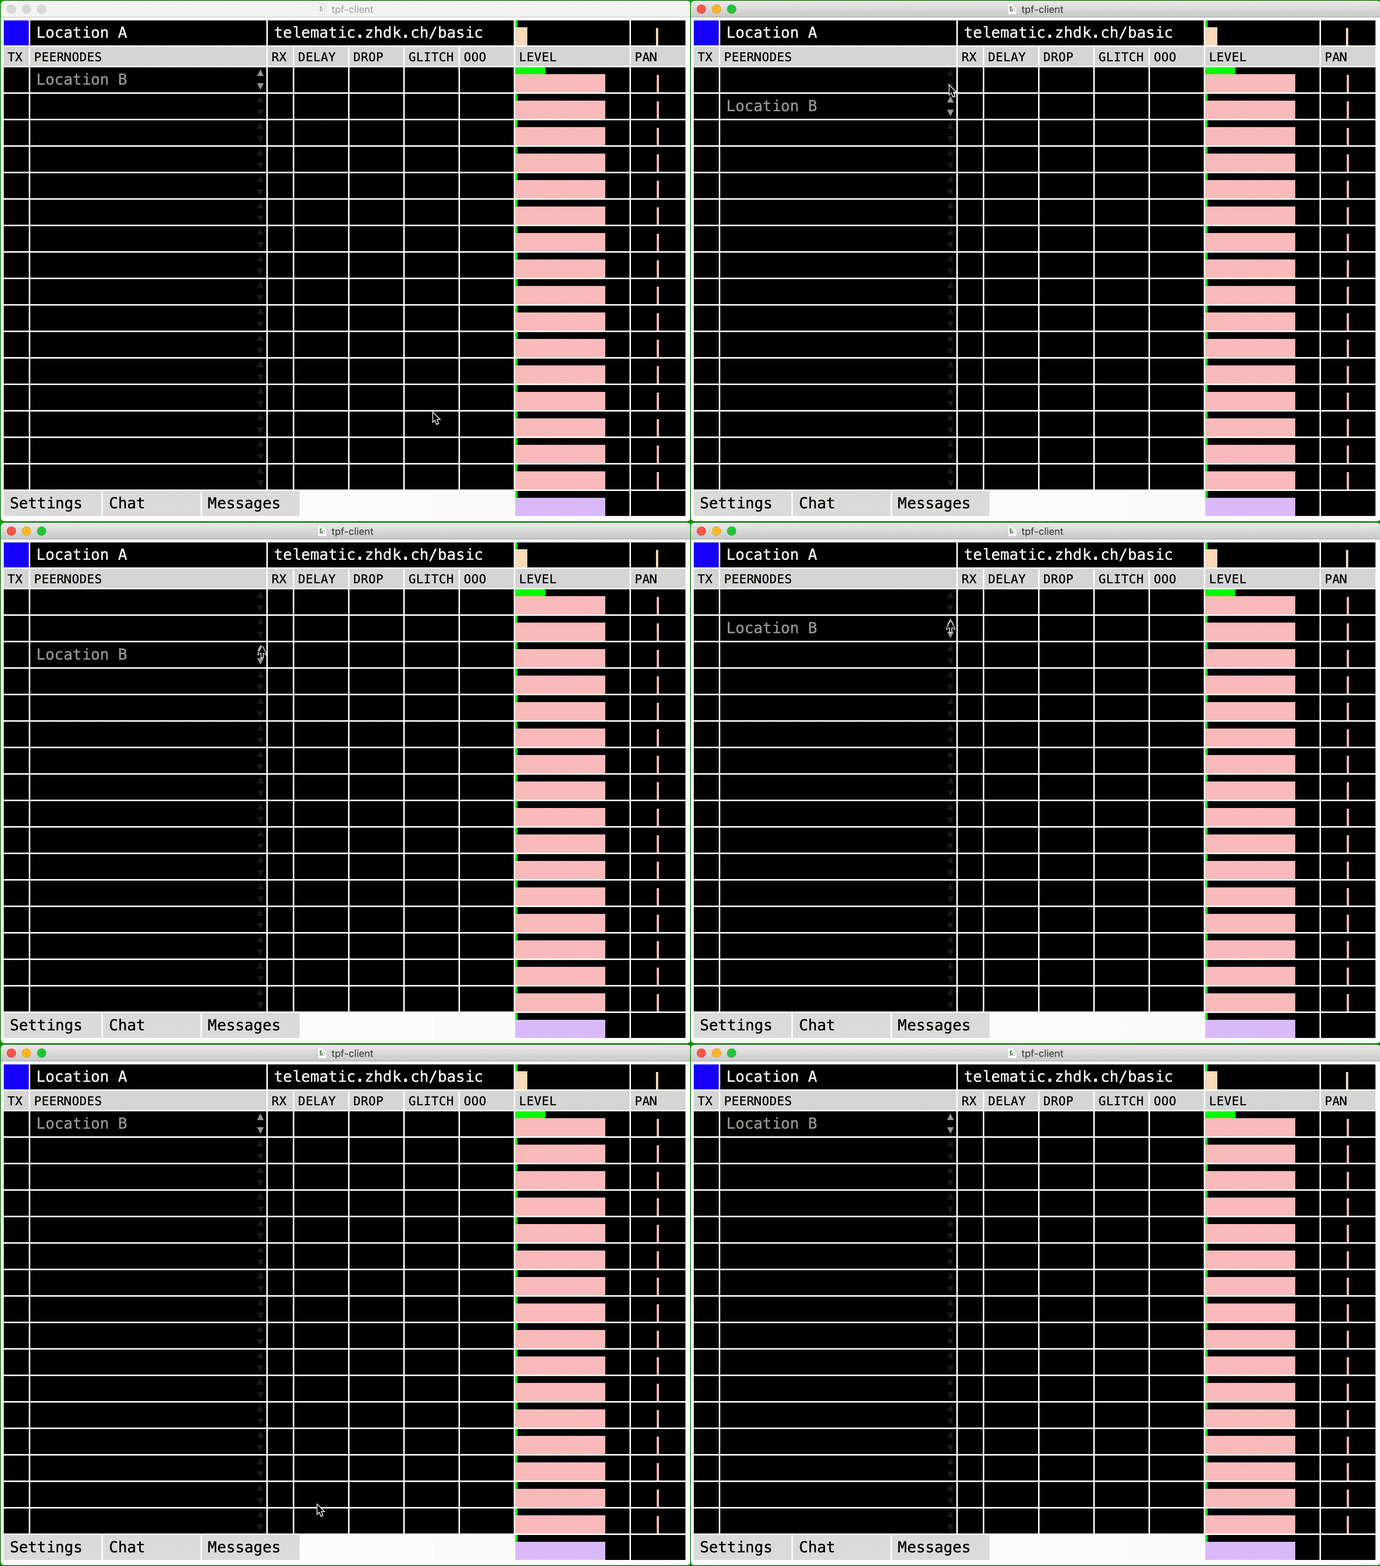
You can toggle up and down the sequence of the peer names by clicking on the arrows at the right of the peernode’s name. Please note that peers with a running audio transmission cannot be moved.
You are now connected to the remote peer(s) – and you can hear your remote location(s).
You are now ready to jam!
c2. Establish a connection to the other location(s) peer to peer
Alternatively to establishing a connection through the proxy-server, it is also possible in some cases to establish a peer to peer connection. In this case, the audio signal does not run through the central proxy-server, instead, the latter only moderates the establishment of the connection which then runs directly from one location to the other. In most cases, the resulting latency will be lower.
Instead of clicking once on the box next to the peernode / location you choose, you double click. The box turns purple and the respective box at the remote location starts to blink in green.
As soon as the remote location clicks on the blinking box, it turns purple on both sides. In this case, a peer to peer connection is established.
You are now connected to the remote peer(s) – and you can hear your remote location(s).
You are now ready to jam!
If the boxes turn grey, a peer to peer connection is not possible.
The names of the peer nodes that are online are white. When peers go offline, their names turn grey.
You can toggle up and down the sequence of the peer names by clicking on the arrows at the right of the peernode’s name. Please note that peers with a running audio transmission cannot be moved.
d. Mixing and panning
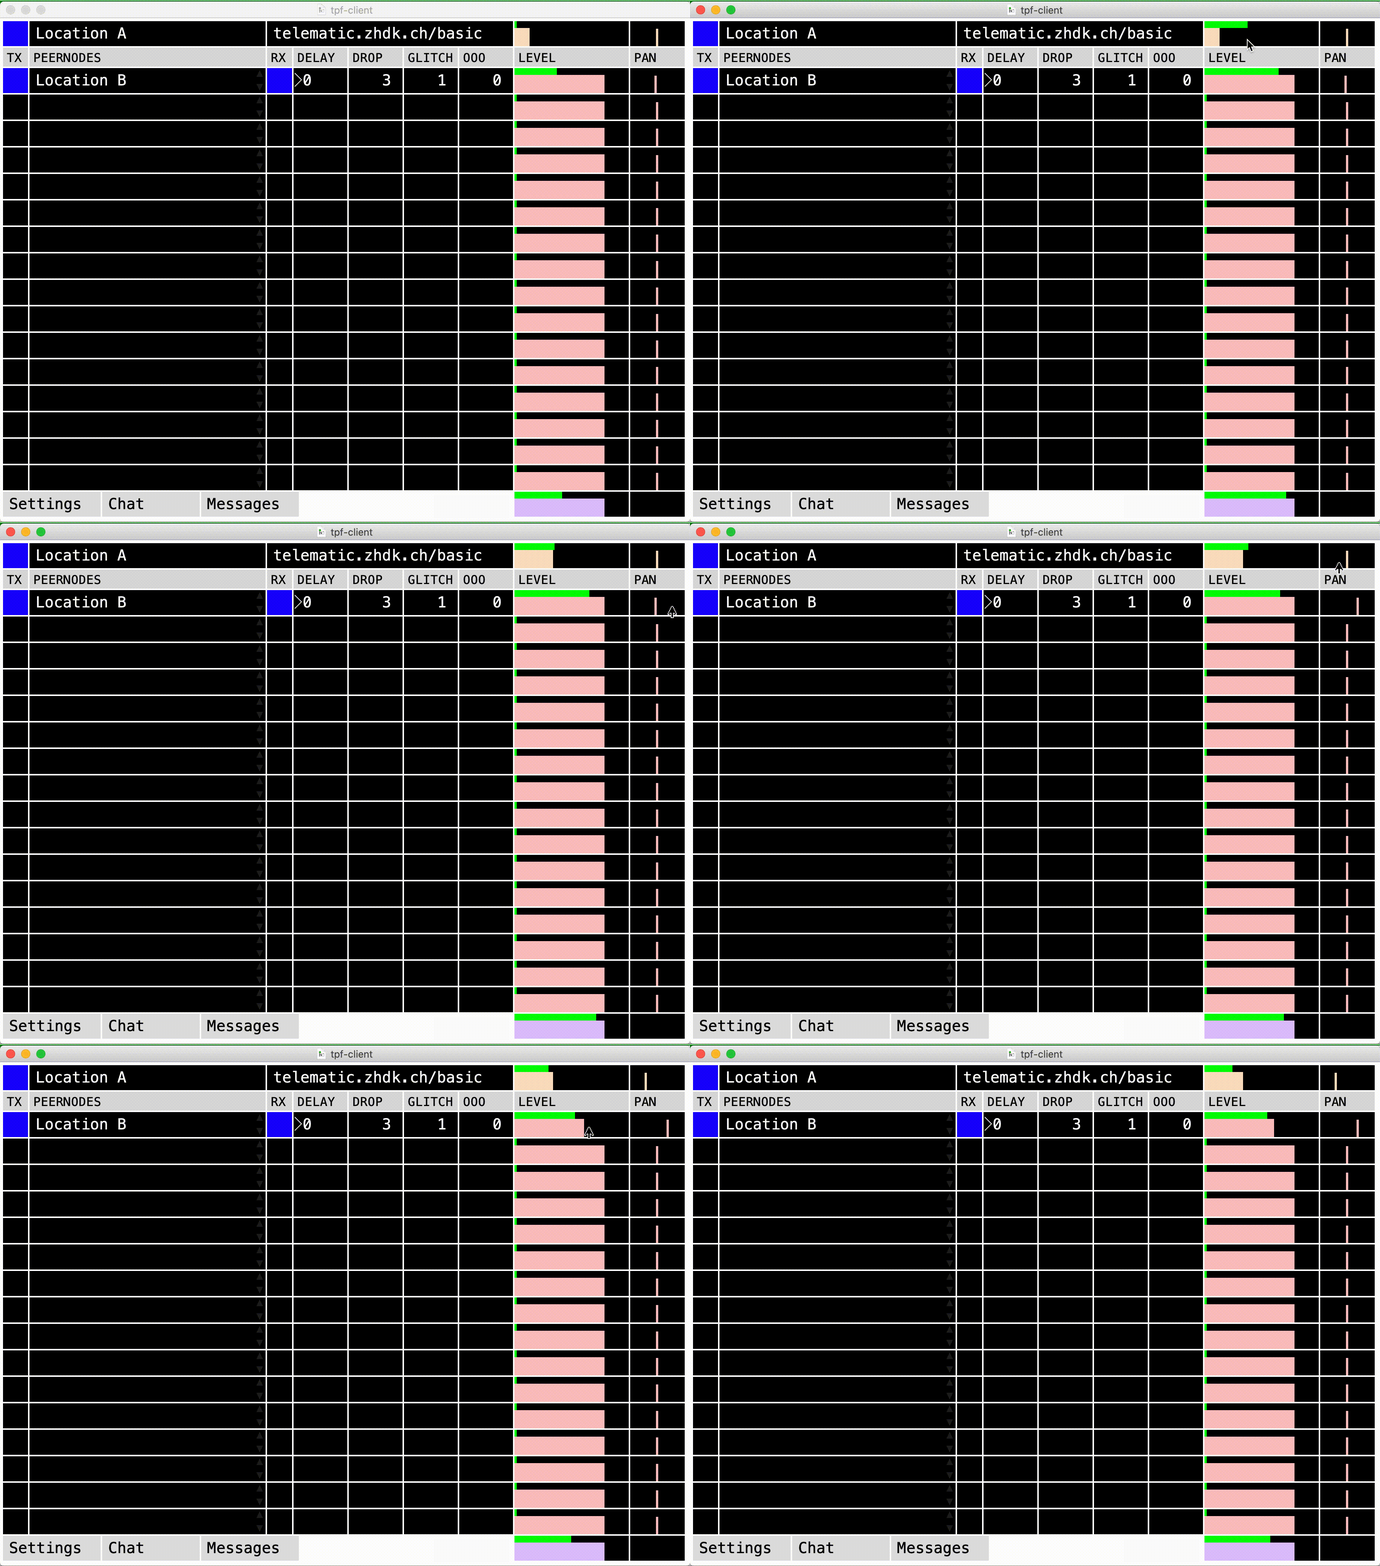
As soon as a connection is established, the ‘LEVEL’ box flickers in green if a signal is received from the respective remote location.
For your individual mix, you can slide the fader in the ‘LEVEL’ section to influence the gain. The levels in this mix will not influence the mix at the other locations.
In the ‘PAN’ section, you can position the remote source in your audio panorama. Again, this will not influence the remote locations.
e. Closing the connection
Your connection to the respective location is closed by clicking on the blue box left of the peer nodes. By clicking on the upper left box next to your own location, all connections are closed. The respective box(es) at the remote location(s) turn black.
TPF-Party has some additional features that are used to monitor the connection or to extend its functionalities.
DELAY: you can add additional latency so that the audio transmission is delayed by an exact number of milliseconds. It is possible to choose a range from 1 millisecond to 9999 milliseconds (which closely equals ten seconds). This might be useful to align different latencies of different locations or to align the audio to a video transmission, it can also be used for more experimental settings.
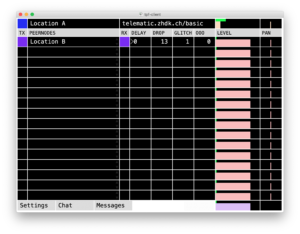
During an audio transmission, three types of glitches are counted and displayed in the respective row:
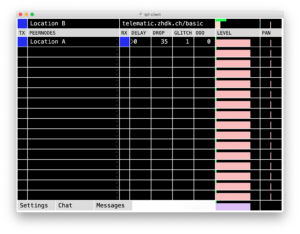
DROP: Number of dropped audio packets. Late packets that miss their time frame to be played back are also considered dropped.
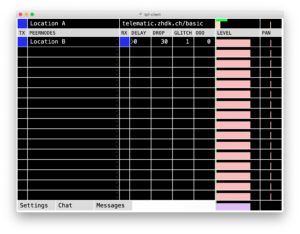
GLITCH: Number of audible audio glitches. Often, many packets are dropped in a row, resulting in one audible glitch. That is why the number of audible artefacts is always smaller than the number of dropped packets.
OOO: Number of packets received out of order. If an out-of-order packet misses its time frame, it is dropped. Otherwise it is played back in correct order.
At the bottom of the main window, additional windows in the main interface can be opened by clicking on them.
Chat: The built-in chat can be used as a channel for written communication.
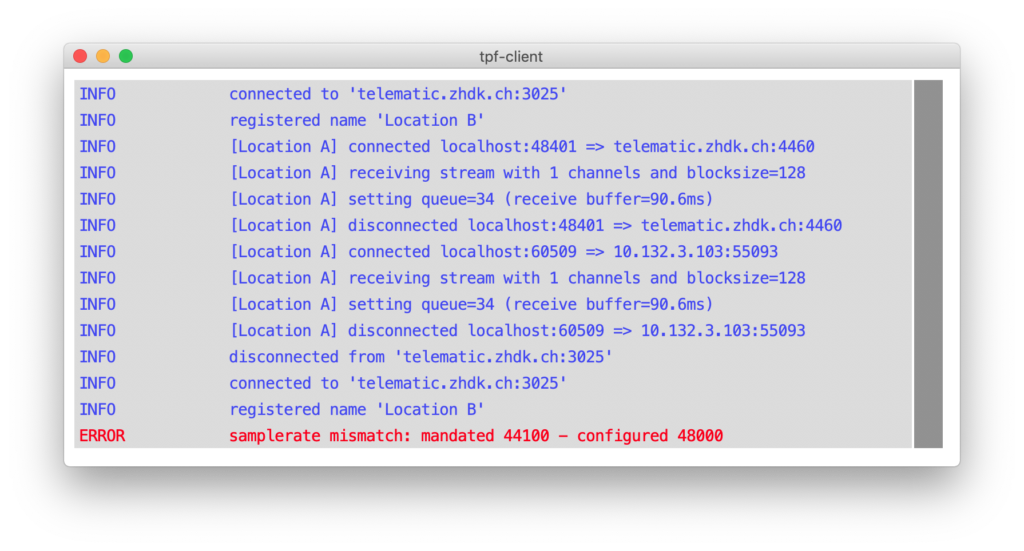
Message: Where ‘Info’, ‘Warning’ and ‘Error’ messages are displayed.

