1. Starting the video-connection with the TPF-Video-Runner
2. Starting the video-connection directly
Due to the modular system of TPF-Tools, video streaming can be aligned in different ways to the audio layer, e.g. by using only the video part of videoconferencing programmes like Jitsi, Zoom or Livelab (https://www.culturehub.org/livelab).
In our practice, we work with Ultragrid, a video-streaming tool which provides both high video quality and low latency. Because of the higher video quality, it consumes more bandwidth than conventional videoconferencing tools.
TPF Tools Manuals
1. Starting the video-connection with the TPF-Video-Runner
TPF-Tools includes Ultragrid and some scripts that facilitate its use. The script ‘tpf-video-runner.command’ which is located in the ‘tpf-video’ folder, allows you to make video connections with the built-in-video camera of your computer as well as with external webcams.
The use of external cameras other than webcams will need specific technical requirements; some of these are explained in Section 2.
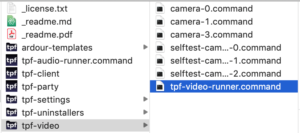
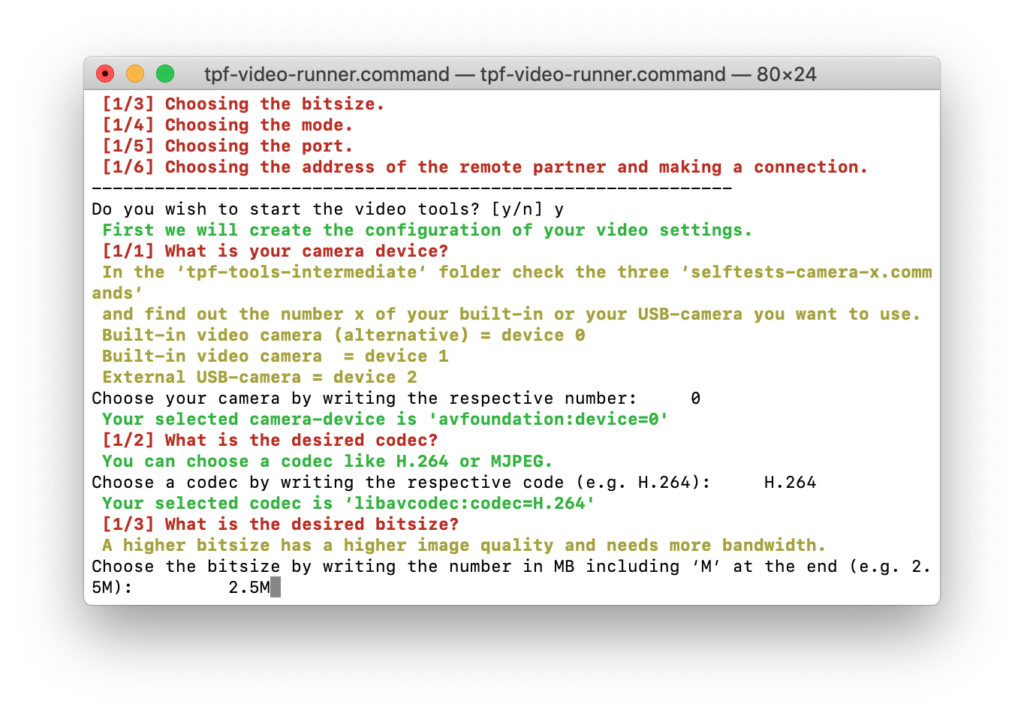
To start a video connection to your remote partner through TPF-Tools, double click ‘tpf-video-runner.command’ in the ‘tpf-tools-intermediate’ folder to kick off the process. Note that you have to run a separate command for each video connection on both sides (be it if you use multiple cameras and/or multiple locations).
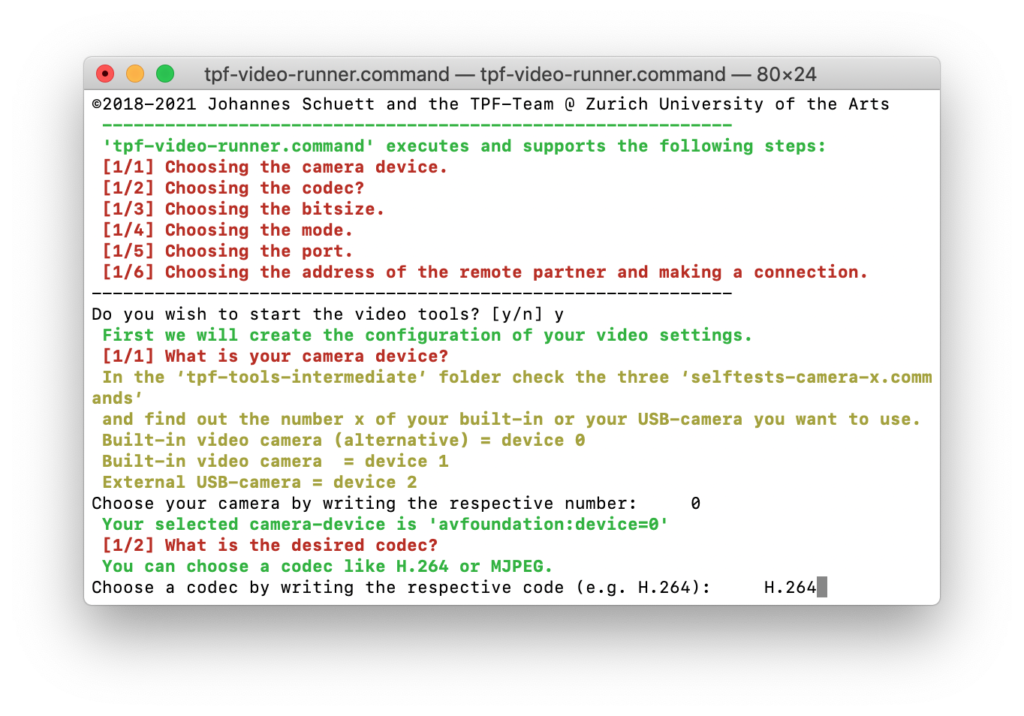
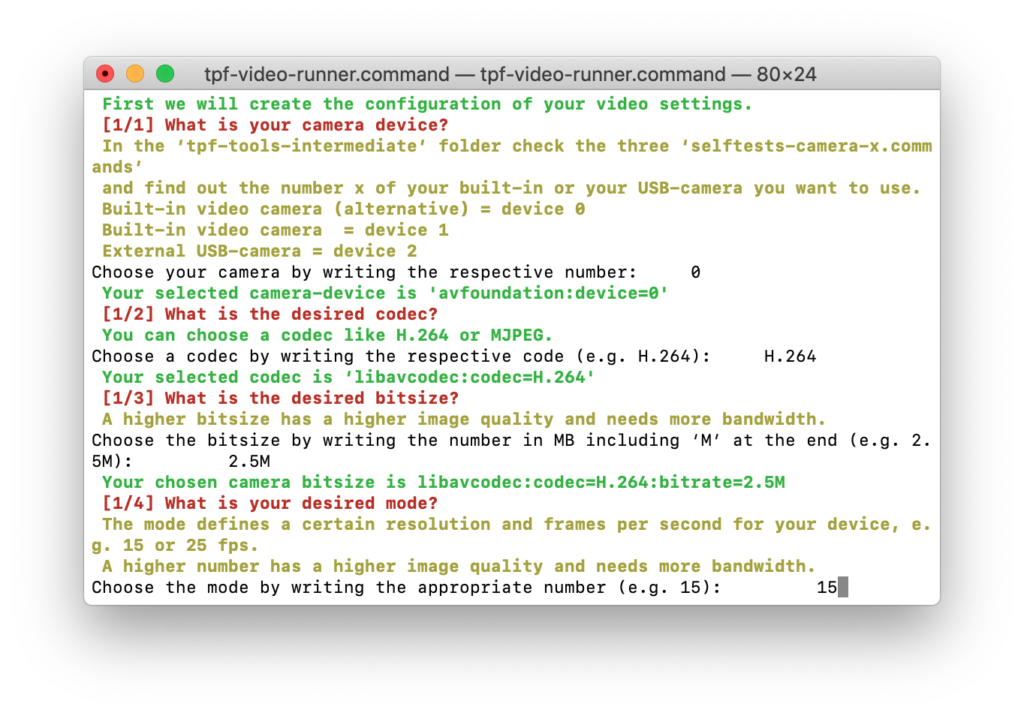
By confirming with ‘y’ (for ‘yes’) you start the process. The instructions in the Terminal window should be self-explanatory and will guide you through the process, establishing an video-connection with your remote location(s).
Nevertheless, the following notes might contribute to a better understanding of the involved software and to help with troubleshooting issues.
a. Choosing the camera device
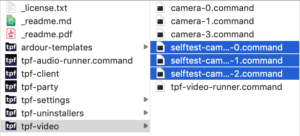
In order to choose the built-in-camera or a webcam as your source(s), you need to know the number (0, 1 or 2) which corresponds to the source.
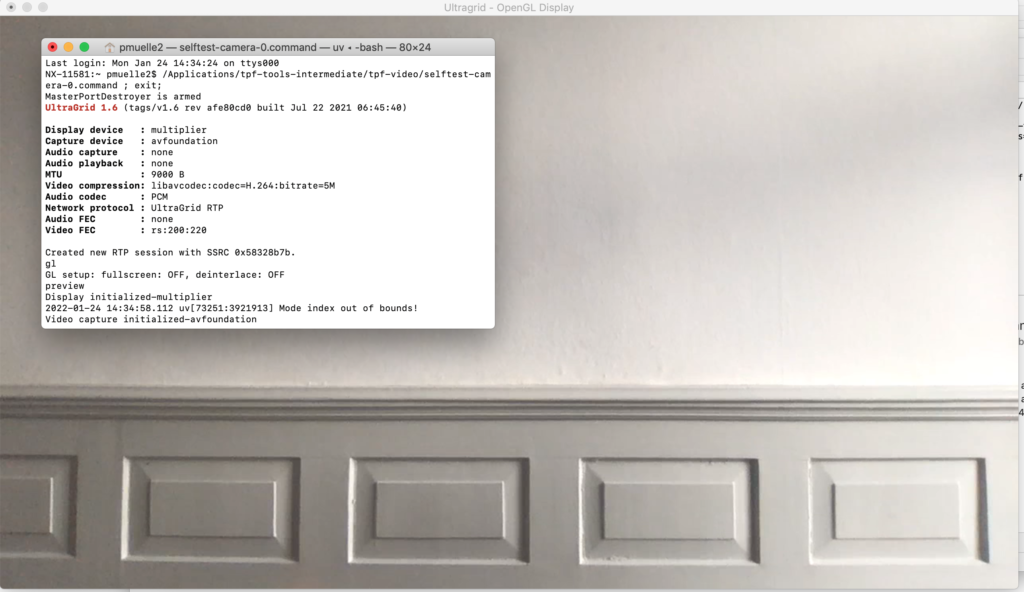
A window will open, and if one of your cameras show off, the respective camera has the device number ‘0’; repeat this procedure with the other selftest scripts:
Please note that you have to start a separate script for each camera you want to use and for each remote partner you want to connect to; one video runner script only connects one local and one remote camera.
b. Choosing the codec
In order to stream video, you need to compress your video file using a codec. The most common codecs, supported by Ultragrid, are MJPEG and H.264; for further information, see
c. Choosing the bitrate
Besides the codec (see b.) and the mode (see d.), the bitsize influences the quality of the video image (the higher the better), at the same time, the higher the quality, the more bandwidth is needed.
Bitrates are the number of computer binary bits that are processed per a given time; Ultragrid asks for a number in Mbits/s, e.g. 2.5 Mbits/s or higher resolutions like 4 or 8 Mbits/s.
Write the desired bitrate added with an ‘M’, e.g. 2.5M or 4M, in the Terminal window and press enter:
d. Choosing the mode
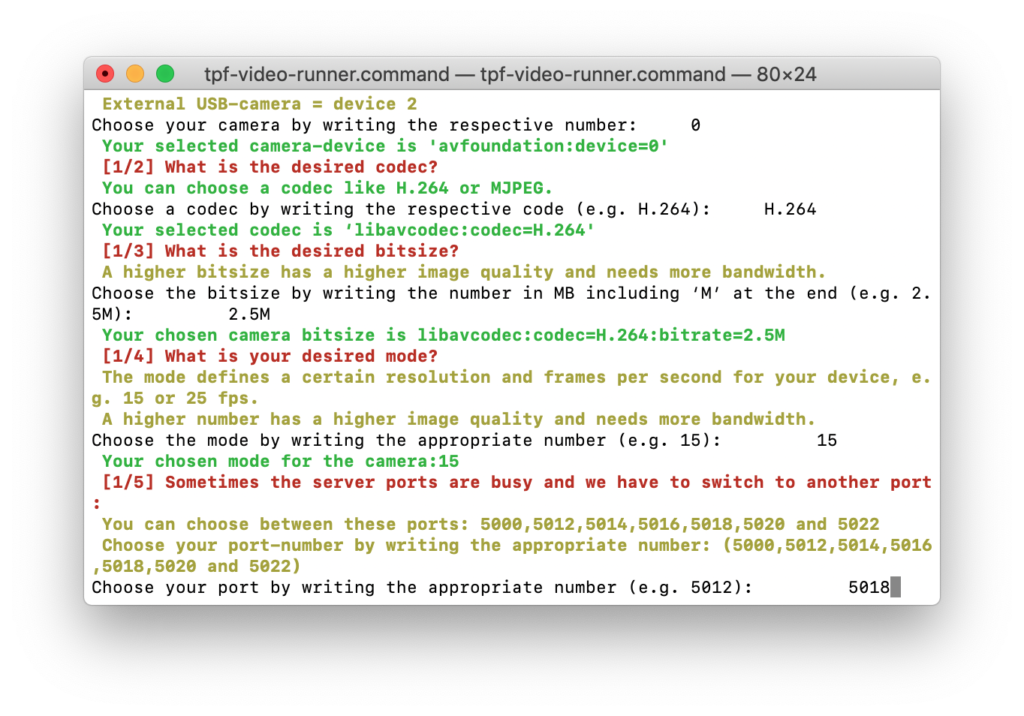
The mode defines the resolution of the video in frames per second. Again, a higher resolution will have a better quality and consuming more bandwidth.
Write the desired number of frames per second in the terminal window (e.g. 15, 25, 50, etc.) and press enter:
e. Choosing the port
To send and receive a video, the port number has to be identical at the local and the remote location. The pre-configured port numbers on the server ‘telematic.zhdk.ch’ are:
5000, 5002, 5004, 5006, 5008, 5010, 5012, 5014, 5016, 5018.
Note that you have to choose an own port number for each connection.
f. Choosing the address of the remote partner
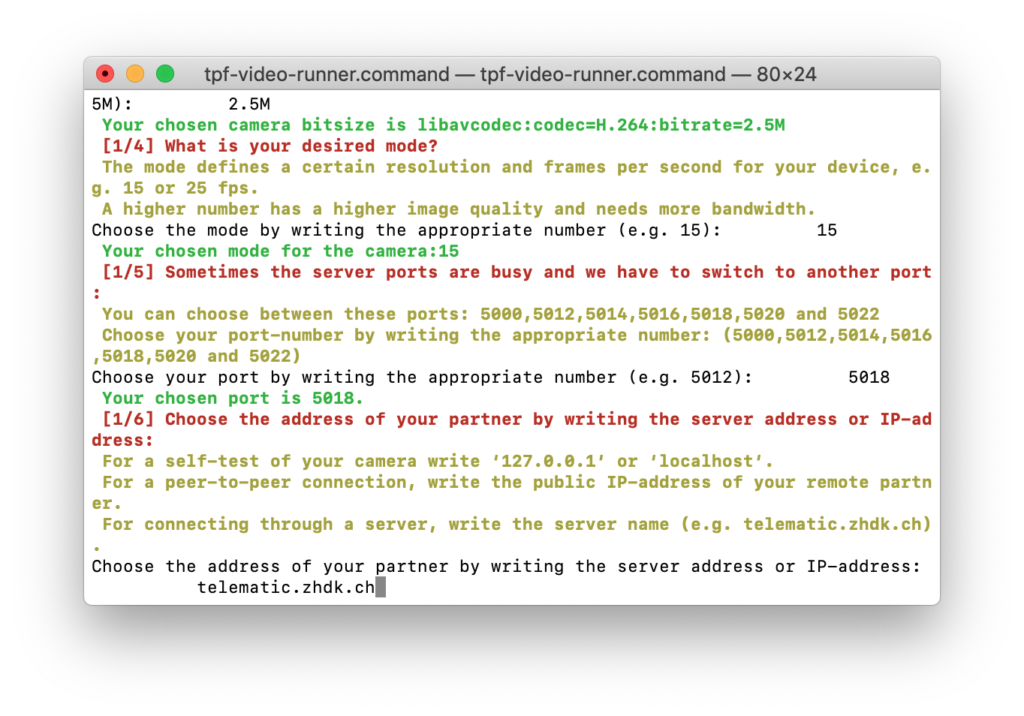
You have different possibilities to connect to your remote partner:
- through a proxy server: in this case, the video stream travels through a server; the default server ’telematic.zhdk.ch’ is located at Zurich University of the Arts;
- peer-to-peer: in this case, the video stream travels directly from the local computer to the remote computer and vice versa; for this, a public IP-address is needed.
Write the server address or the public IP address of your remote partner in the terminal window and press enter:
You are now connected!
If you want to use two cameras, double-click ‘tpf-video-runner.command’ in your TPF-folder again; a second terminal window opens. Repeat the same procedure as above by using another port number and by choosing another camera.
2. Using Ultragrid independently
Instead of using the TPF-video-runner, you can use Ultragrid more individually, for example if you want to use external cameras (besides webcams) or want to link the incoming and outgoing videos to a software to map the video.
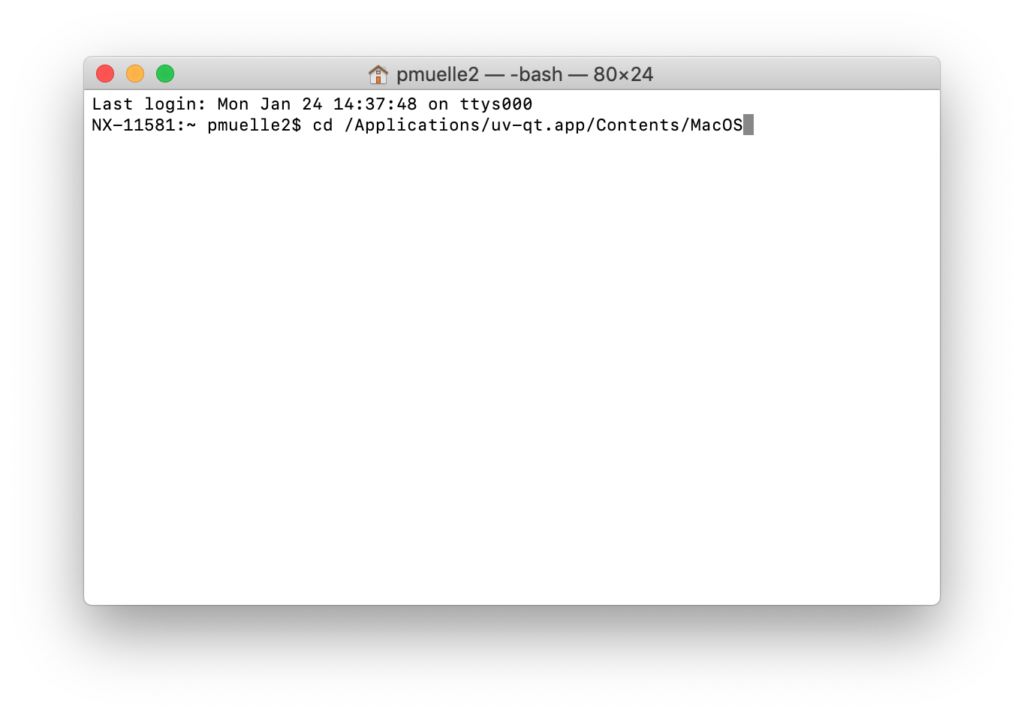
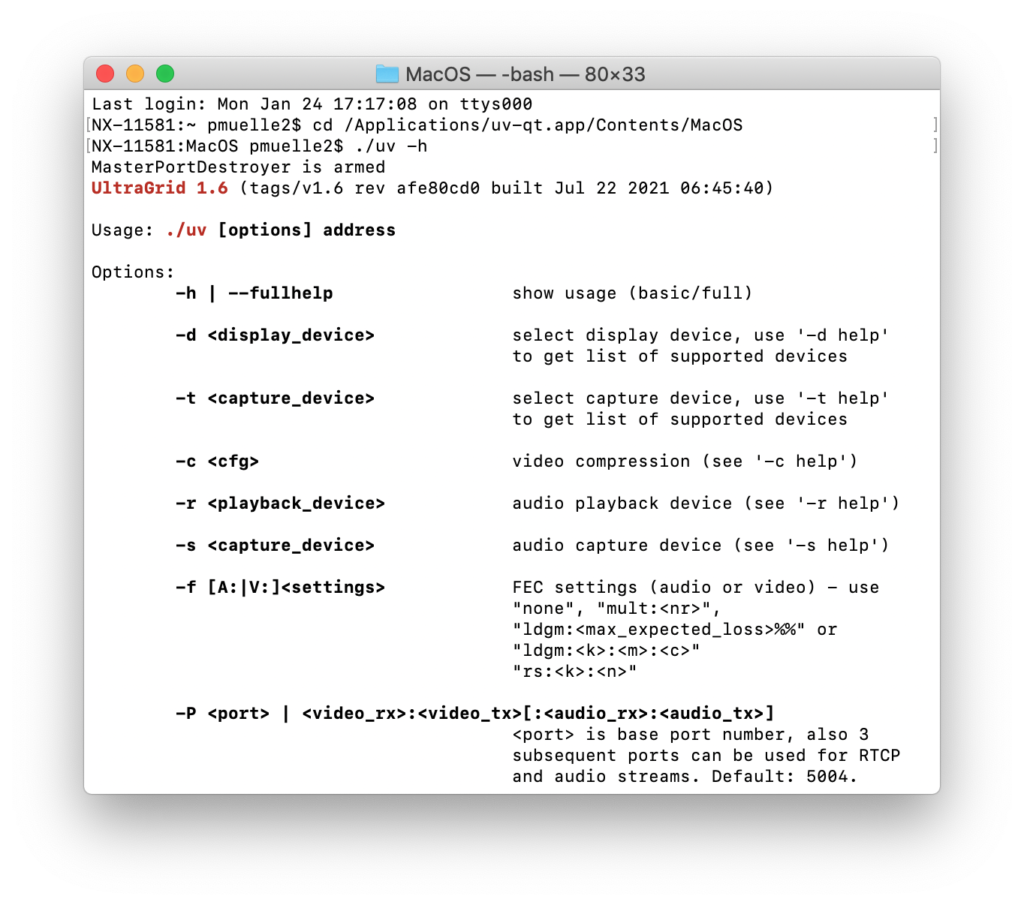
To start Ultragrid, open a terminal window and enter the following command:
Alternatively, you can find many information here:
https://github.com/CESNET/UltraGrid/wiki/Running-UltraGrid
To define the camera sources, the video parameters and the remote location, you have to enter a terminal command.
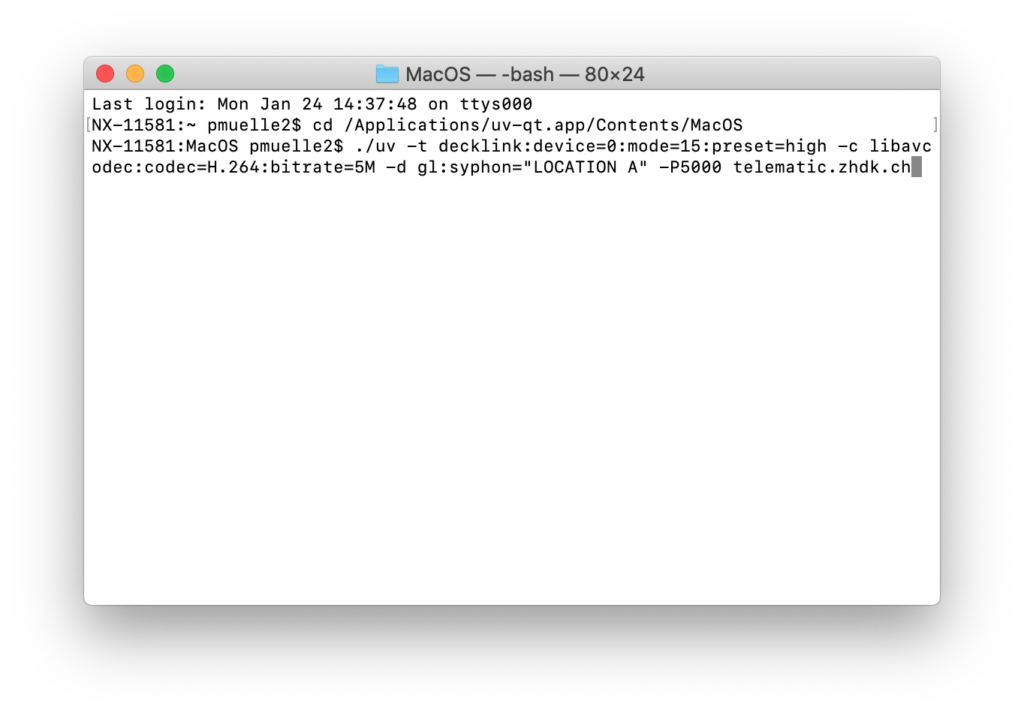
The following command is an example, and we will introduce its components in the following notes:
./uv starts the Utragrid commands.
./uv -t decklink:device=0:mode=15:preset=high -c libavcodec:codec=H.264:bitrate=5M -d gl:syphon=”LOCATION A” -P5000 telematic.zhdk.ch
‘-t decklink’ describes the kind of device you are using:
- ‘decklink’ describes all devices from black magic
- ‘avfoundation’ describes the built-in-camera or an external webcam
- ’testcard’ gives out a test signal
- for other devices, go to ‘./uv -t help’ in the Cerminal or check here: https://github-wiki-see.page/m/CESNET/UltraGrid/wiki/Cards
./uv -t decklink:device=0:mode=15:preset=high -c libavcodec:codec=H.264:bitrate=5M -d gl:syphon=”LOCATION A” -P5000 telematic.zhdk.ch
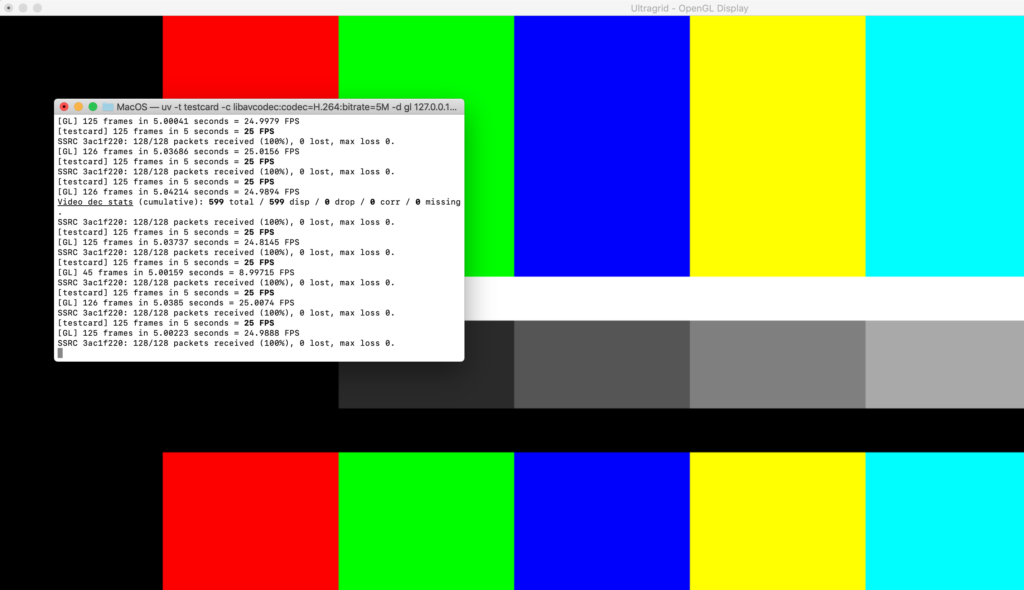
For example, with the following command, you will get a test signal (for the details of the command see the following sections):
Or, this command will show your built-in camera:
‘device=0’ points out which camera you are using in case you are using more than one. It starts counting from 0 onwards.
./uv -t decklink:device=0:mode=15:preset=high -c libavcodec:codec=H.264:bitrate=5M -d gl:syphon=”LOCATION A” -P5000 telematic.zhdk.ch
‘mode’ defines a certain resolution and frames per second for your device.
In this case, 15 defines Full-HD and 25fps.
./uv -t decklink:device=0:mode=15:preset=high -c libavcodec:codec=H.264:bitrate=5M -d gl:syphon=”LOCATION A” -P5000 telematic.zhdk.ch
‘-c’ starts the compression of the video.
In order to stream video, you need to compress your video file using a codec. The most common codecs, supported by Ultragrid, are MJPEG and H.264; for further information, see: https://github-wiki-see.page/m/CESNET/UltraGrid/wiki/Libavcodec-Compression.
./uv -t decklink:device=0:mode=15:preset=high -c libavcodec:codec=H.264:bitrate=5M -d gl:syphon=”LOCATION A” -P5000 telematic.zhdk.ch
‘libavcodec:codec’ loads the code for compression, in our case H.264.
./uv -t decklink:device=0:mode=15:preset=high -c libavcodec:codec=H.264:bitrate=5M -d gl:syphon=”LOCATION A” -P5000 telematic.zhdk.ch
‘bitrate’: besides the codec and the mode, the bitsize influences the quality of the video image (the higher the better), at the same time, the higher the quality, the more bandwidth is needed.
Bitrates are the number of computer binary bits that are processed per a given time; Ultragrid asks for a number in Mbits/s, e.g. 2.5 Mbits/s or higher resolutions like 4 or 8 Mbits/s.
./uv -t decklink:device=0:mode=15:preset=high -c libavcodec:codec=H.264:bitrate=5M -d gl:syphon=”LOCATION A” -P5000 telematic.zhdk.ch
‘-d’ starts the display options.
./uv -t decklink:device=0:mode=15:preset=high -c libavcodec:codec=H.264:bitrate=5M -d gl:syphon=”LOCATION A” -P5000 telematic.zhdk.ch
‘gl:syphon’ creates a syphon stream from the incoming video with the name that you enter between the brackets. in our case “Location A”.
./uv -t decklink:device=0:mode=15:preset=high -c libavcodec:codec=H.264:bitrate=5M -d gl:syphon=”LOCATION A” -P5000 telematic.zhdk.ch
‘-P’ defines the portnumber on the server we are using, in our case: ‘5000’
- for a self-test of your camera, write ‘127.0.0.1’ or ‘localhost’.
- for a peer-to-peer connection, write the public IP-address of your remote partner.
- for connecting through a server, write the server name (e.g. telematic.zhdk.ch).
./uv -t decklink:device=0:mode=15:preset=high -c libavcodec:codec=H.264:bitrate=5M -d gl:syphon=”LOCATION A” -P5000 telematic.zhdk.ch

